Invisalign trays are designed to be removable, but that doesn’t mean it’s always easy, especially when you’re just getting started. Whether you’re eating, brushing, or switching to your next set of aligners, removing them properly is key to protecting both your teeth and the aligners themselves.
In this guide, we’ll explain the safest and most effective way to remove your Invisalign trays, troubleshoot common issues, and care for your aligners afterward.
What Is Invisalign?
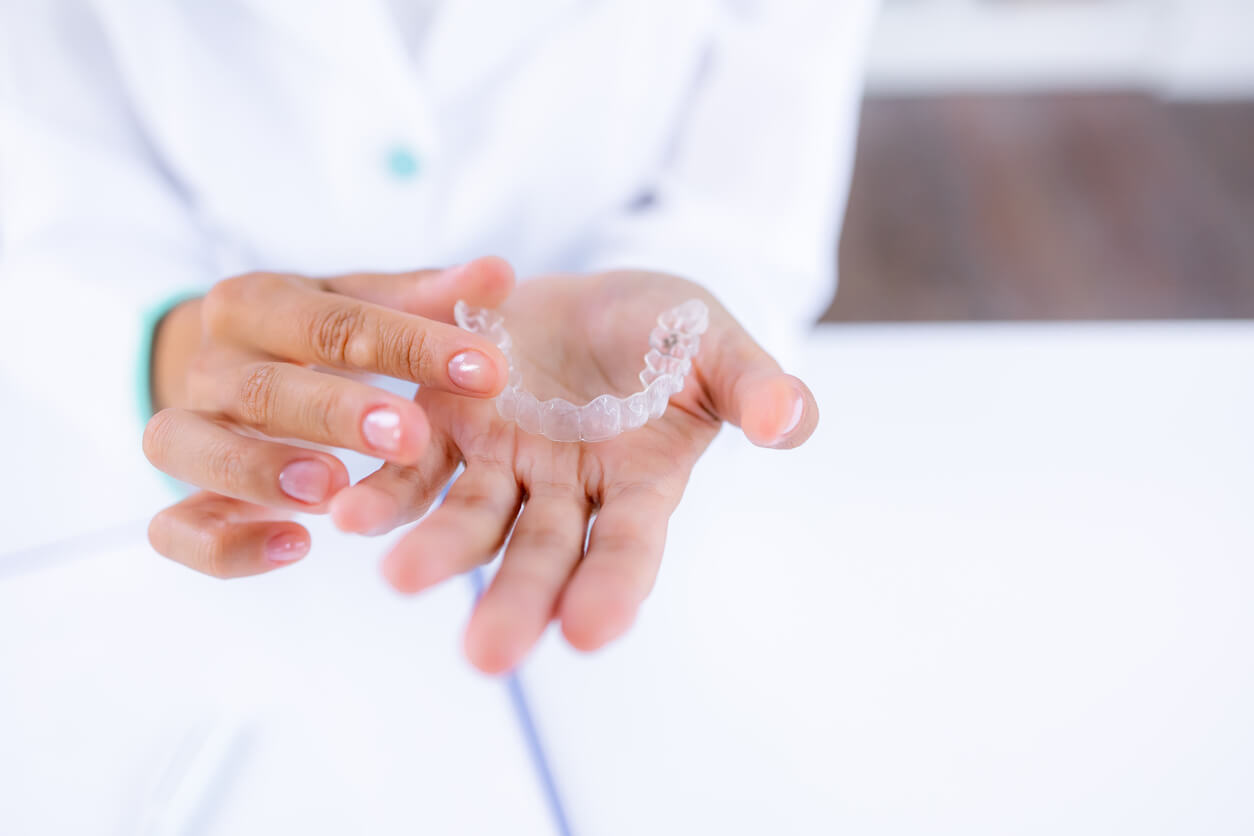
Invisalign is an orthodontic treatment that uses custom-made, clear plastic trays to align the teeth discreetly. Unlike traditional braces, these removable aligners are a more flexible and comfortable approach to achieving straighter teeth.
Each set of aligners is designed to fit snugly over your teeth, applying gentle pressure to facilitate effective tooth movement. Typically, you wear each set for about 1-2 weeks before progressing to the next in your treatment plan, making it a highly customizable option for a variety of dental issues.
How to Easily Remove Invisalign
Step 1: Wash Your Hands
Always start with clean hands. Use soap and warm water to prevent transferring bacteria to your mouth or trays.
Step 2: Use the Right Tools (If Needed)
Using your fingertips, gently pull down (for top trays) or up (for bottom trays) from the back molars. Work your way forward slowly. Avoid yanking or twisting.
Step 3: Loosen the Aligners
If the trays feel tight, try a tool like OrthoKey or PulTool. These are small plastic devices made to safely pop aligners off without damaging them.
Step 4: Remove the Aligners
Move evenly and gently around your mouth. If one side resists, switch to the other and alternate. Patience prevents cracks or warping.
Step 5: Store Your Aligners Safely
Once removed, rinse the trays with lukewarm water and place them in their case. Never wrap them in napkins, as they’re easy to lose or accidentally throw away.
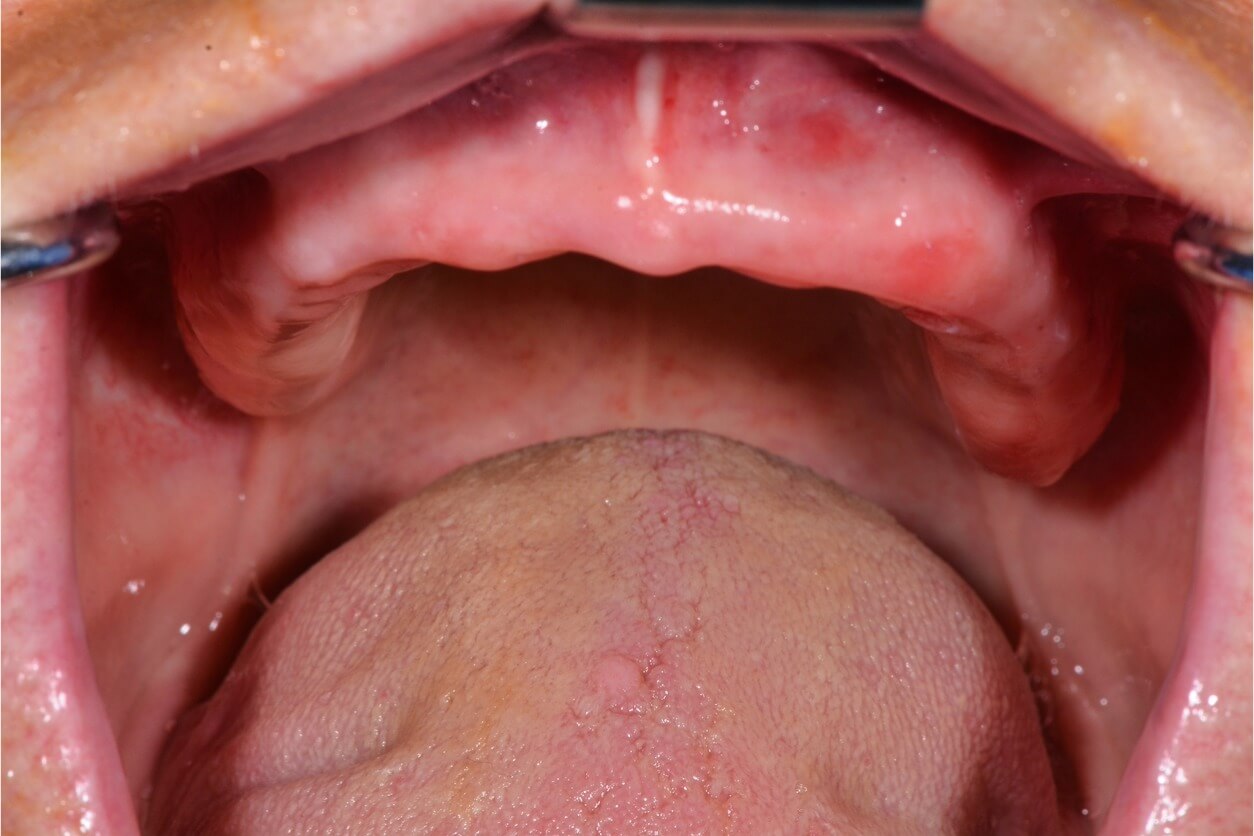
How to Remove Invisalign Attachments?
Invisalign attachments, or “buttons,” are small, tooth-colored bumps that help guide your teeth into place during treatment. These are bonded to your teeth and must be professionally removed by your dentist when your treatment is complete.
What to Expect During Removal
- Dentist Removal Only. Attachments are polished off with a dental tool, similar to getting your teeth cleaned.
- Painless Process. The removal is quick and doesn’t harm your enamel.
- Post-Removal Care. Some patients notice slight discoloration where attachments are placed. If needed, your dentist may recommend a professional cleaning or whitening.
Why You Shouldn’t Remove Attachments Yourself
- Trying to remove attachments at home can damage your enamel.
- DIY removal can cause uneven surfaces, affecting your aligner fit.
- Your dentist will remove them safely without harming your teeth.
Caring for Your Aligners After Removal
- Quick Rinse. After aligners are removed, immediately rinse them under lukewarm water to remove food particles and harmful bacteria. Avoid hot water, as it can warp the clear plastic trays, leading to deformed trays.
- Oral Hygiene Routine. Incorporate aligner care into your daily oral hygiene routine. Clean aligners contribute to overall oral health, preventing the accumulation of bacteria and food remnants that might linger on surfaces.
- Use Mild Soap. Occasionally clean the aligners with a simple habit of using a mild, clear soap and a soft brush. This avoids the buildup of harmful bacteria without damaging the aligner material, ensuring they remain in excellent condition.
- Cool Water Cleaning. If you experience a dry mouth, soak aligners in a cooler-temperature water solution with a denture cleaner. This can help clean without introducing rubber-based or chemical products that cause damage.
Achieve Discreet Teeth Alignment With Invisalign at Dunedin Family Dentistry!
Learning how to remove and care for your Invisalign aligners can make your orthodontic journey smoother and more effective. By following these steps, you can ensure your aligners remain in top condition, preventing any unnecessary discomfort or chance of damage. Remember that patience and proper techniques are key to achieving your ideal smile with Invisalign.
If you’re considering Invisalign, schedule a consultation so we can determine if you’re a good candidate.